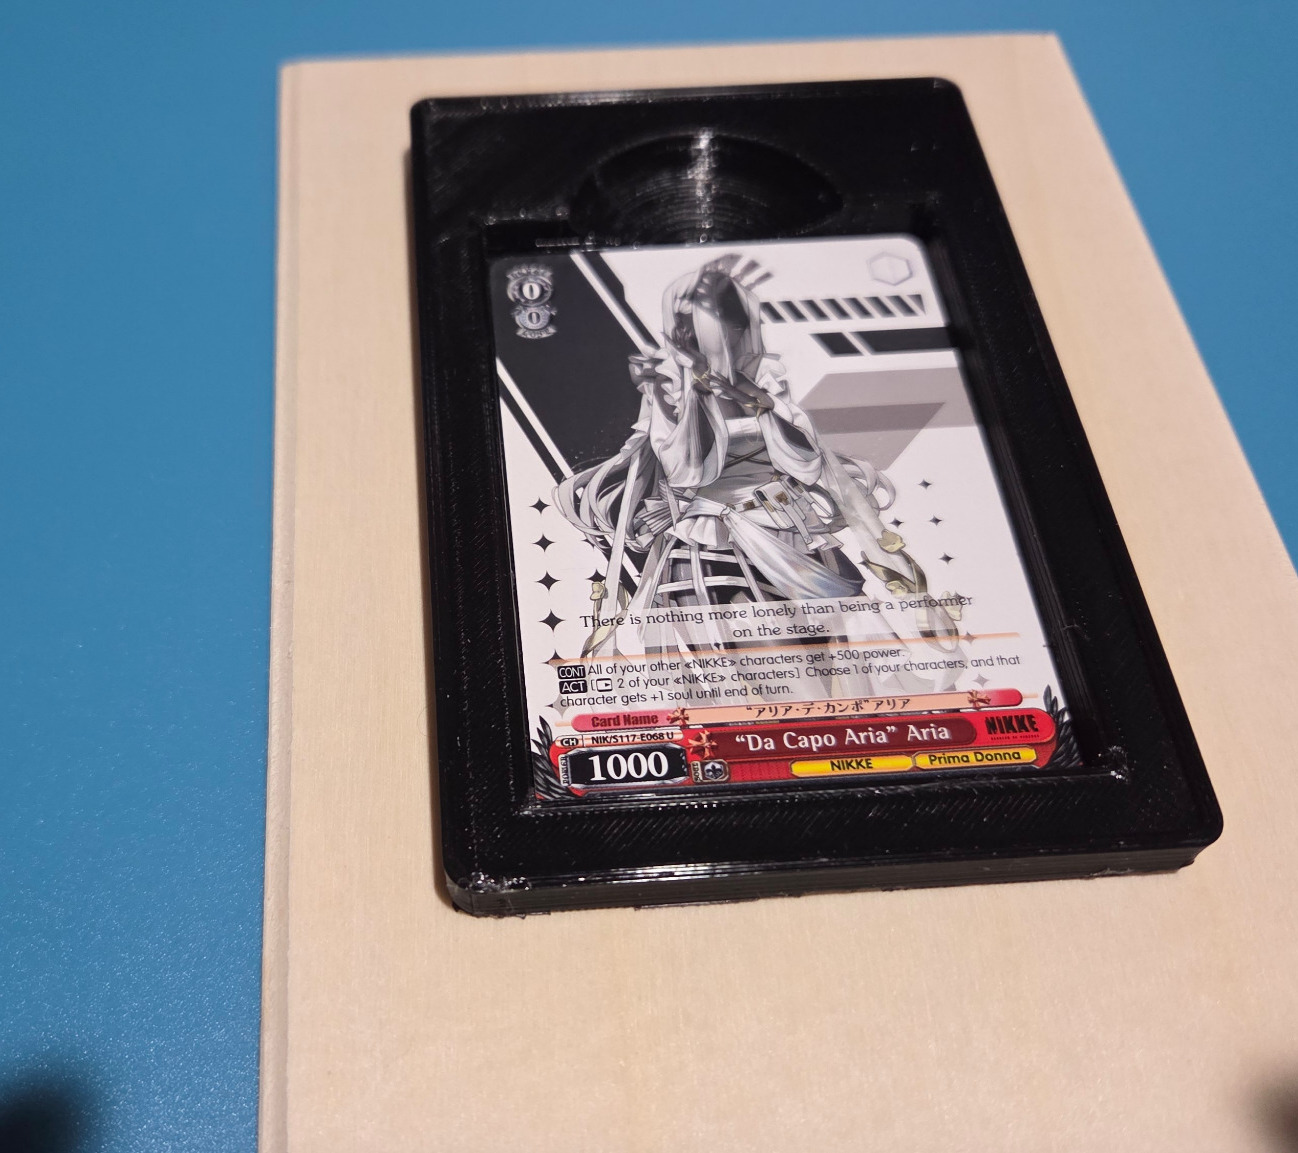
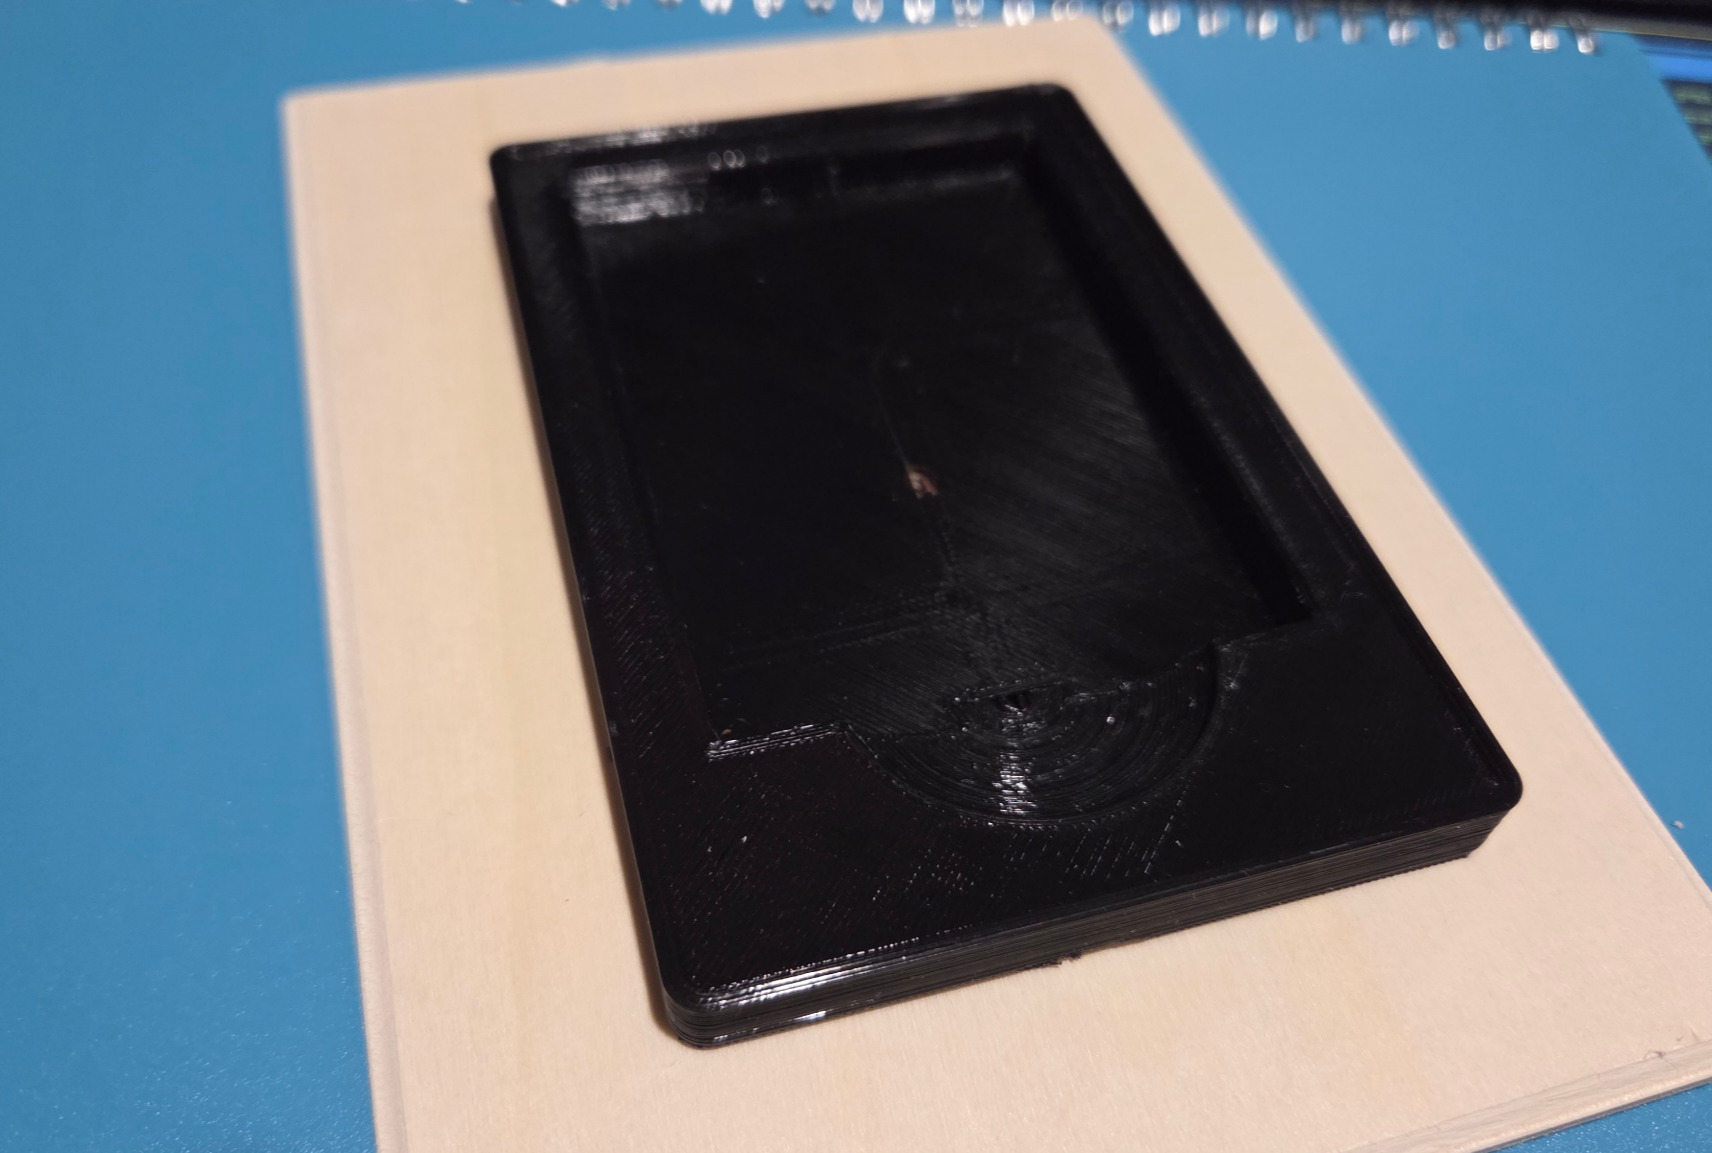
For today, I worked on a STL file and modified it to be a shallow card jig for making consistent layers for the shadowboxed cards after they are cut and ready to be glued together. It should make for a more consistent/professional look. I also added a small block of wood and mounted it underneath the card jig for more stability as I am working on alignment.
For this jig, it will hold approximately six cards with cardstock spacers sandwiched in between. I believe this will be a good thing to have when mass producing shadowbox cards for selling. They'll be consistently produced with minimal errors. In my other post, I 3d printed some six card shadowboxes that will be a more premium looking end result.
I will be sending out some work to a friend who has a resin 3d printer to make some more shadowbox card holders and a modified card holder to a 5x7 size for making homage versions of cards. I'll be testing out some scanning and enlarging cards with printing at the 5x7 size and eventually building out some larger shadowboxes.